Blog

 RSS Feed

  1. Last summer I bought some tiara bands and bridal combs, with the intention of making tiaras and bridal combs for my online shop. In the end I decided to delay in making them till the spring, so they were put them away, I was already busy at the time, making a new range of bridesmaid jewellery sets. Then I was designing and creating jewellery for the Christmas season, which can be manic, but fun.


    After Christmas came and went, I got my tiara bands and combs back out and thought about what colours and designs I wanted to make. I ordered some new bead supplies and got to work. I made three bridal combs, which you can see in my previous blog and I started on the tiara.  Did I want to go simple and elegant or dramatic and colourful for the tiara, well as this was my first tiara creation, I went for the former.


    I used 6 mm white glass pearls and  clear crystal bicone beads. I threaded on each bead and attached them to the band, using wire wrapping techniques and using 2 feet of 0.4mm silver plated wire, in stages.
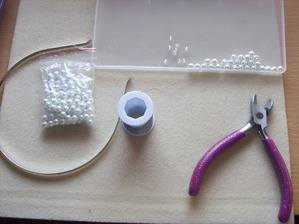
    making tiara

    I've just finished adding the bead stalks.
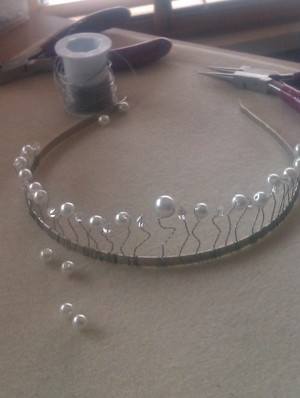
    making a tiara

    Once the stalks had been added, I started adding 4mm white glass pearl beads to the band.
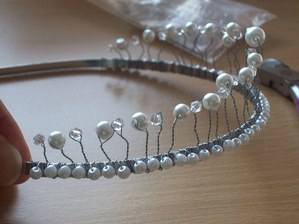
    making a tiara

    Here is the completed tiara, I think I did a good job on my first attempt in making a tiara. I'm looking forward to making the next one, not sure of the style or colour theme, but I'm working on it.
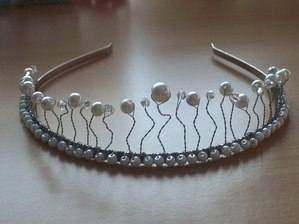
    making a tiara

    This tiara will be added to the wedding and bridal section of my shop in March, together with the new bridal combs, that I have already made. If you would like to see the other bridal items and my handmade jewellery and accessories on my website, click the link above.

    I'm off to do some sketches, bye for now.


  2. Happy New Year!

    A belated Happy New Year to you all, we are over half way through the month already, the years have just been flying by, far to quickly for my liking. It's a new year, which means lots of new ideas for the coming months. This year, I want to develop and expand the ranges of items in bridal jewellery, to include bridesmaid jewellery sets in exciting colours and designs, that reflect the changing tastes of brides, who want to express their individual colour choices and style. 

     I'll  just share with you all, a couple of the new bridal combs that I have already made. I've said in the past, how much I love pearls and crystals, both of which are my favorite beads to work with, when making my jewellery pieces.

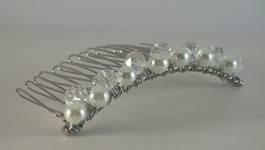
     Pear and Crystal Bridal comb

    1. This comb has white pearls and round crystal beads.

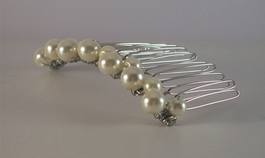
    Ivory Pearl Bridal Comb 
     
    2. Made with Ivory pearl beads, in 2 sizes.
     
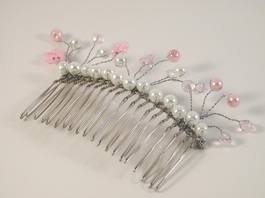
    Pink Pearls and Crystal Bridal Comb 
     
    3. This is a pink pearls and crystal  beads spray bridal comb.

    Learning to make these bridal combs has been an enjoyable experience, I will be making some more combs, to add the collection. I've already started to make a tiara, I will be showing it on my blog, when it is completed.

    The combs and tiaras will be added to my shop, in the spring.

    If your getting married and still trying to decide what style or design of bridal jewellery to choose from, visit the bridal section of my shop, all my jewellery is handmade and can be personalised, in your chosen colours or in a particular design.

    More new jewellery pieces will be add to my shop very soon.


  3. lipgloss

     I don't normally blog about make up, but as you know I do like to blog about making things, so I thought I'd include this fun and easy to do project.  I prefer to lipglosses to lipsticks, but I've been tempted  occassionally to buying  lipsticks that I thought looked great in the store, but then don't quite look the same, once I got them home.

    I think the lighting in department stores are awful. The amout of times over the years, I have spent £12 on a lipstick, only to get it home, try it on and then thought, it looked much better in the store. Instead of just leaving those lipsticks to gather dust, I thought I'd turn them into lipglosses.

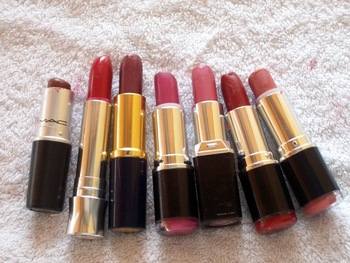
    My first lipstick to lipgloss transformation, is a lipstick from Mac which I bough last winter, I think I wore it several times, I did not like how it looked on me, then just forgot about it.

    All you need to make your own lipgloss is the following:

    Lipstick of choice

    Petroleum Jelly (Vasaline)

    Knife

    Small round container

    Microwave


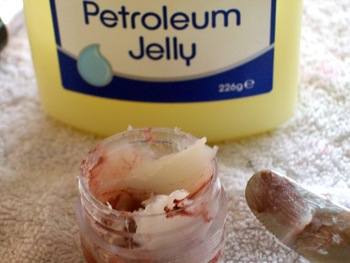
    picture Shot of Vasaline

    Get your small container, mine is a free sample container I got from the Mac counter. Cut off a piece of the lipstick and then add a tablespoon of the Vasaline. Add these to the small container and pop it into the microwave  for about 30 seconds.

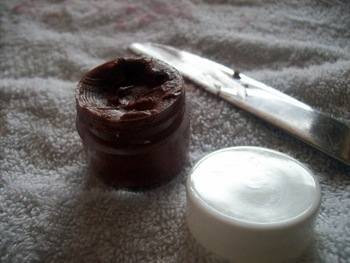
    Remove and stir till both lipstick and Vasaline have been mixed to a smooth consistency. If you want your lipstick to have a stronger colour, add some more of the lipstick, if you want it to have a hint of colour, add some more Vasaline.

    104_1453

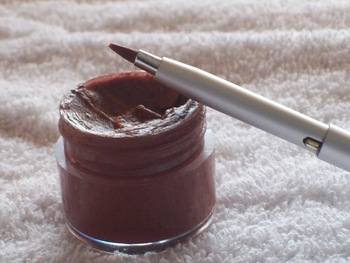
    Pop the container into the fridge overnight, and then the next morning, you will have your very own homemade  moisterising lipgloss. I've got a few more lipsticks to convert into lipglosses, which I'll be doing in the next few days, I'll have my own little stash ready for the summer.

    I find wearing lipsticks a bit heavy to wear when the weather is warm, so lipglosses are a welcome alternative.

    104_1456

    Feel free to share this tutorial with your friends.